 EN
Automatic Voltage Regulator for Alternators Explained
An automatic voltage regulator for alternator is the small control module that helps a generator deliver usable, stable voltage while the load changes. For a distributor or an OEM buyer, it is tempting to treat an AVR as a generic spare part. In practice, the right choice starts with the alternator excitation arrangement, sensing voltage, rated output, connector layout, and protection requirements—not with the lowest unit price.
As a technical consultant for generator control components, I approach an AVR replacement by matching the part to the alternator, load profile, and site conditions. That matters because an apparently similar regulator can produce poor voltage control, unstable response, or a no-build condition when its sensing and excitation connections do not match the machine.
What an AVR does in an alternator
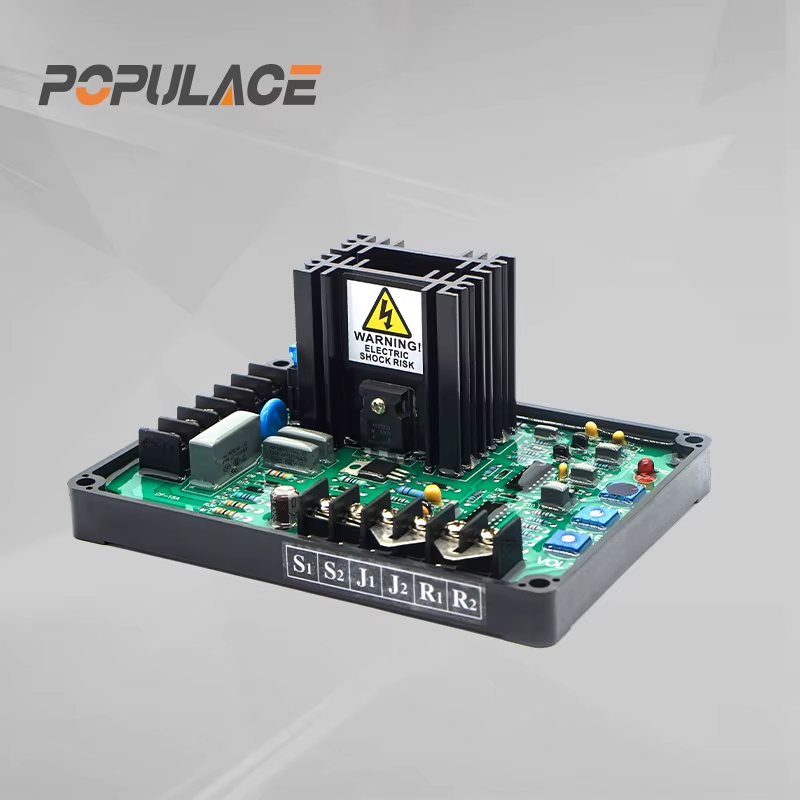
The automatic voltage regulator for alternator sits in a closed control loop. It senses generator terminal voltage, compares that reading with its set point, and adjusts current supplied to the exciter field. When a connected load pulls terminal voltage down, the AVR calls for more excitation. When voltage rises, it reduces excitation. The alternator then responds through its magnetic field and returns toward the selected voltage.
This is why an AVR is often called the “brain” of a brushless alternator. It does not create electrical power by itself, and it cannot correct every generator problem. Engine speed, residual magnetism, rotor and stator condition, sensing wiring, and load characteristics still affect the result. A regulator can only work within the capability of the alternator and its excitation system.
Why model names are not enough for replacement
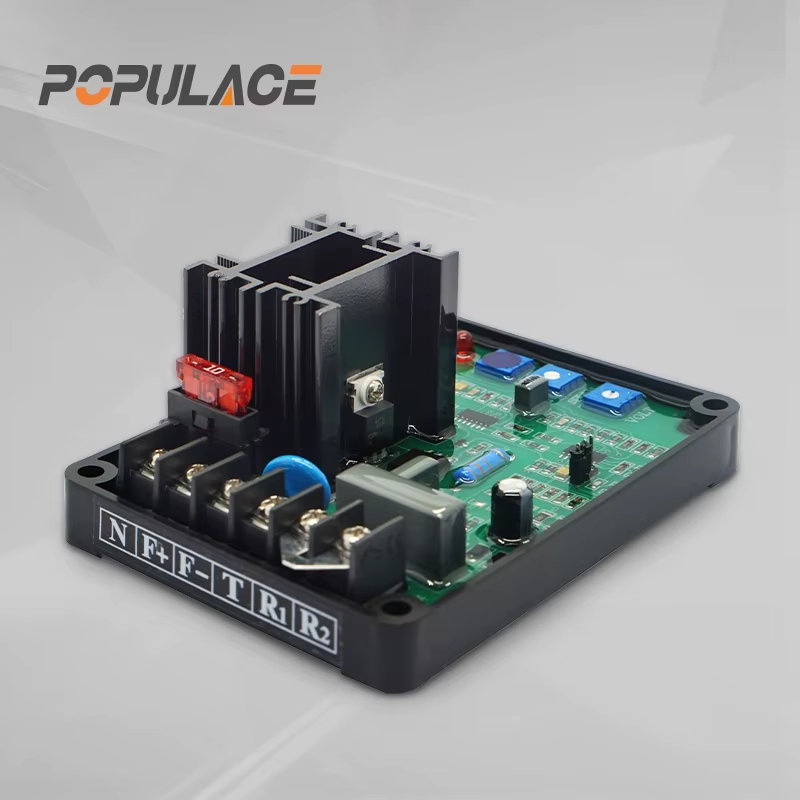
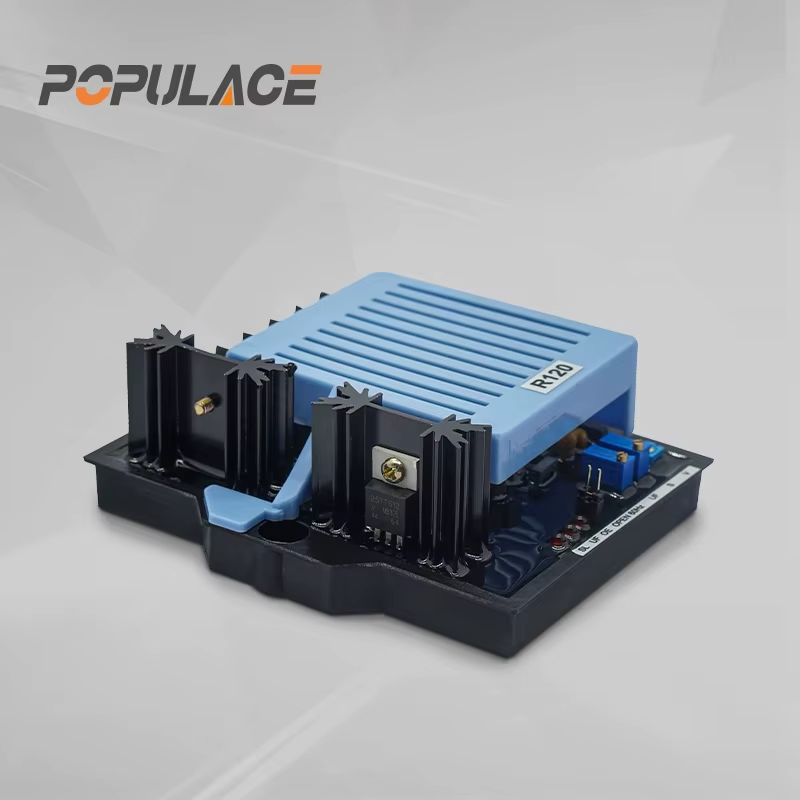
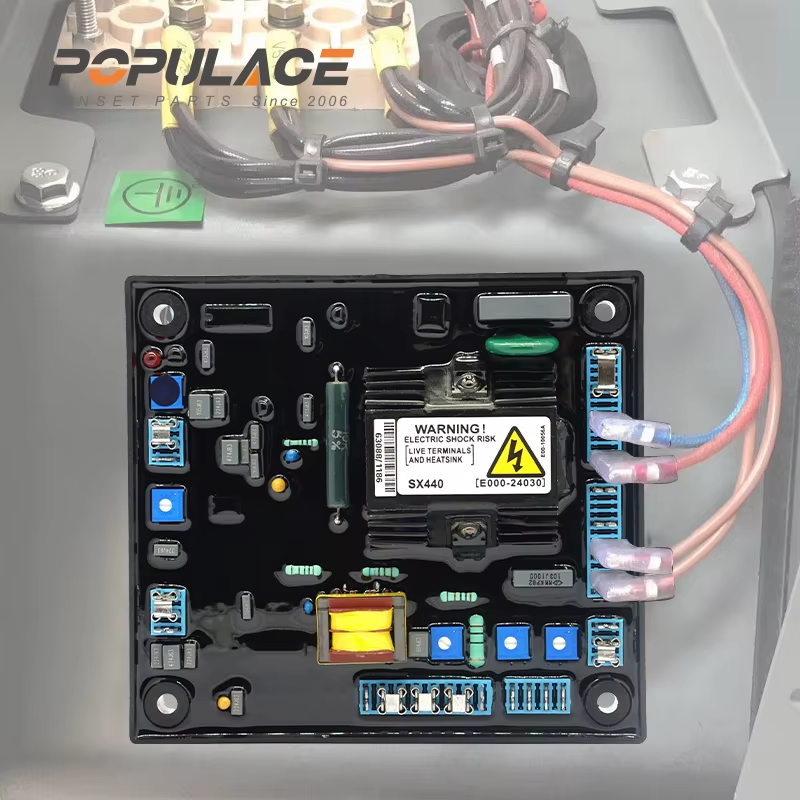
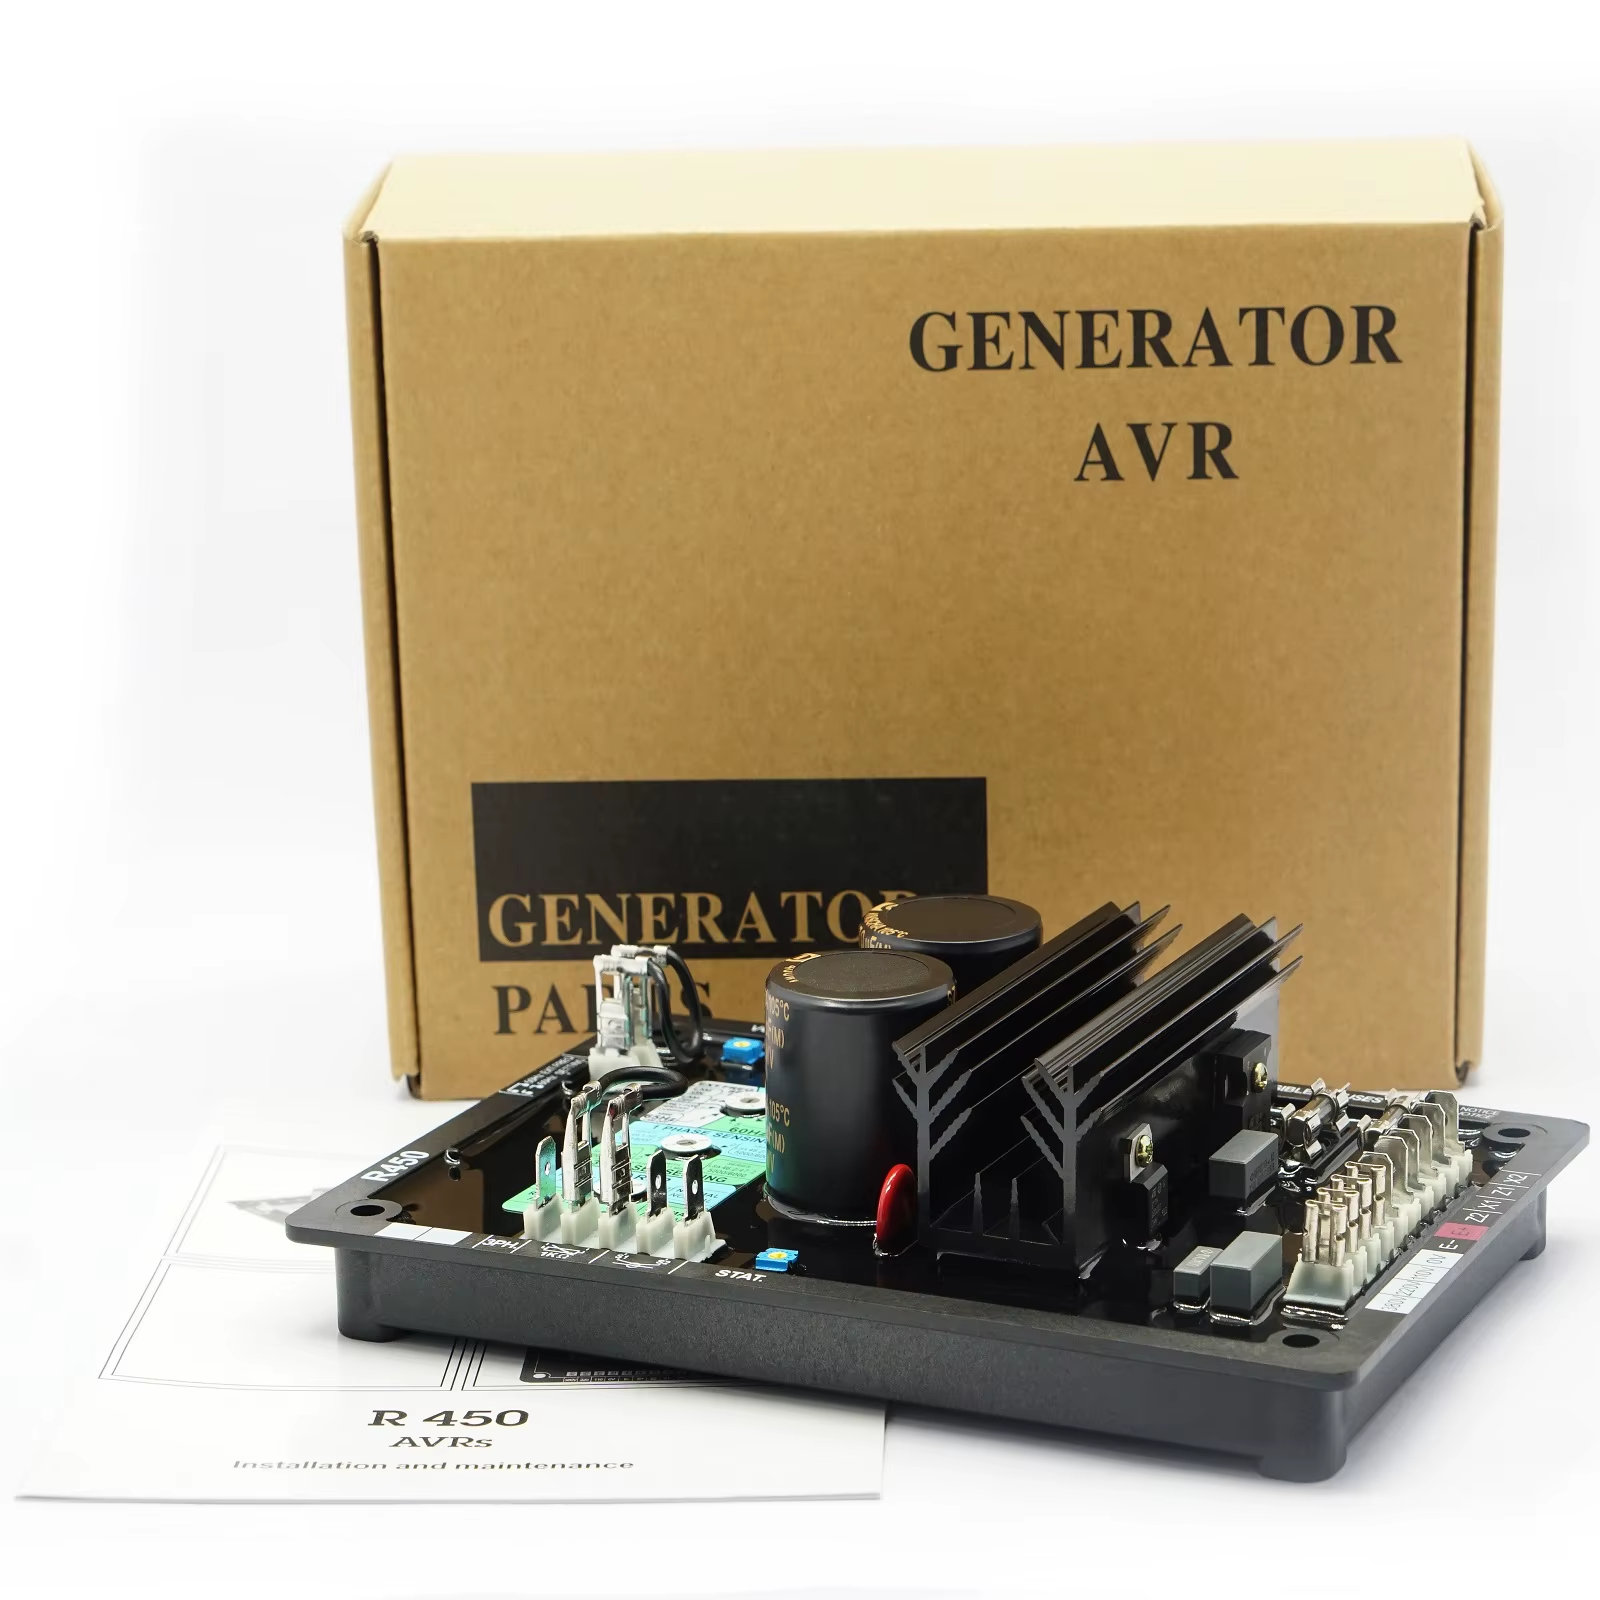
Names such as SX440, SX460, AS440, R120, and R450 are useful starting points, but they are not a universal interchangeability promise. These common regulator families are selected for different alternator configurations and control needs. Before quoting a replacement, confirm the original AVR part number, alternator make and model, excitation supply arrangement, voltage-sensing terminals, frequency setting, and the presence of accessories such as droop or under-frequency protection.
| AVR family | Typical buying question | What to verify first |
|---|---|---|
| SX440 / AS440 | Is the replacement intended for the same sensing and excitation layout? | Terminal markings, sensing range, stability adjustment, and auxiliary winding connection. |
| SX460 | Does the alternator need a regulator with the correct control and protection functions? | Original specification, accessory inputs, and commissioning settings. |
| R120 / R450 | Which regulator matches the alternator and panel wiring already installed? | Connector or terminal layout, supply source, sensing voltage, and field-output requirements. |
No AVR family fits every alternator. If the application runs at a steady load, a correctly matched basic control arrangement may be sufficient. If loads swing frequently—particularly motor loads cycling on and off—response settings and the alternator’s full control specification deserve closer review.
Procurement checklist for wholesalers and private-label brands
Once you manage a spare-parts inventory long enough, you stop asking only which AVR has the lowest price and start asking whether it can be supplied consistently and matched correctly across batches. A practical purchase review should cover:
- Compatibility evidence: original part marking, alternator model, terminal diagram, and photos of the existing regulator.
- Electrical fit: sensing input, excitation supply, field-output range, nominal frequency, and adjustment functions.
- Mechanical fit: mounting footprint, terminal location, connector style, enclosure clearance, and heat exposure.
- Batch consistency: agreed labeling, inspection records, packaging protection, and a traceable revision process.
- Replacement economics: the part price plus diagnostic time, downtime, return handling, and the cost of a misapplied unit.
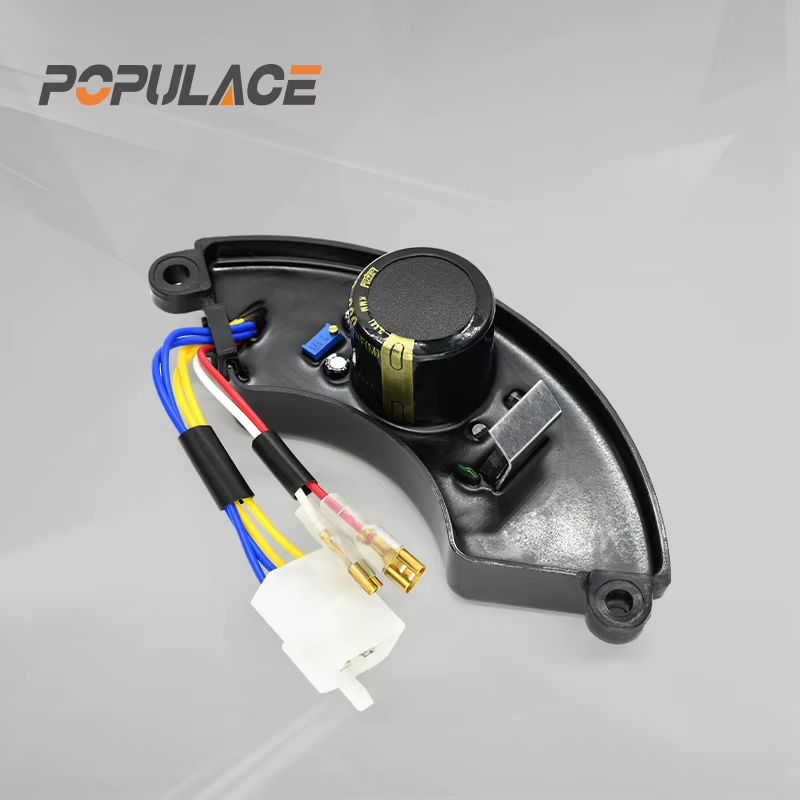
For a buyer comparing stock options, the R120 generator AVR listing is a useful example of why the product title must be followed by a wiring and application check. The same principle applies when reviewing a universal GAVR-8A regulator or a GAVR-20A brushless AVR: confirm the published connection requirements against the actual alternator before ordering.
Installation and wiring: a controlled sequence
Disconnect and lock out the generator before handling the AVR. Record the old regulator’s terminal labels and wire positions, then compare them line by line with the replacement documentation. Do not rely on wire color alone. Verify that sensing leads, excitation leads, and any auxiliary or droop connections go to the intended terminals. A misplaced sensing lead can make a healthy regulator look faulty.
- Photograph the existing installation and capture the alternator and AVR part markings.
- Inspect terminals, harnesses, fuses, and connectors for heat damage, loose crimps, or corrosion.
- Install the matched AVR with the generator isolated; keep wiring clear of sharp edges and heat sources.
- Set adjustment controls conservatively according to the applicable documentation before first start.
- Commission without sensitive loads first, then observe voltage behavior as load is introduced.
An avr 3 phase generator application needs additional care because phase sensing, droop arrangements, and the generator’s connection scheme can affect commissioning. The safe approach is to use the alternator diagram and a qualified technician rather than applying a setting copied from a different machine.
Common AVR symptoms and a sensible fault path
No voltage build-up
Check engine speed, residual magnetism, excitation circuit continuity, AVR supply, fuses, and terminal connections before condemning the regulator. A failed winding or open connection will not be corrected by replacing the AVR.
Voltage is too high, too low, or hunting
First compare the measured terminal voltage with the target and inspect sensing leads. Then review the voltage and stability adjustments, frequency condition, and load behavior. Hunting can be a control-setting issue, but it can also point to a loose connection or a load that changes faster than the system can settle.
The replacement AVR fails early
Look for root causes: overheat from poor enclosure ventilation, vibration, moisture, transient events, incorrect field wiring, or an AVR selected outside its intended operating arrangement. Replacing only the board without correcting these conditions raises the true replacement cost.
Notes for special searches: Champion, three-phase, and GB160
When buyers search for an avr for champion generator, the key is not the brand phrase alone. Confirm the exact generator or alternator model, the original regulator label, and connection layout. For avr gb160 requests, apply the same discipline: use the model reference to begin identification, then validate electrical and mechanical compatibility before substitution.
Make AVR selection repeatable
A dependable automatic voltage regulator for alternator purchase process combines a verified part reference with terminal documentation, alternator details, and a realistic view of operating conditions. Keep those records with each stocked SKU. It shortens technical conversations, reduces avoidable returns, and makes replacement cost easier to control—especially when a customer needs a regulator quickly.