 EN
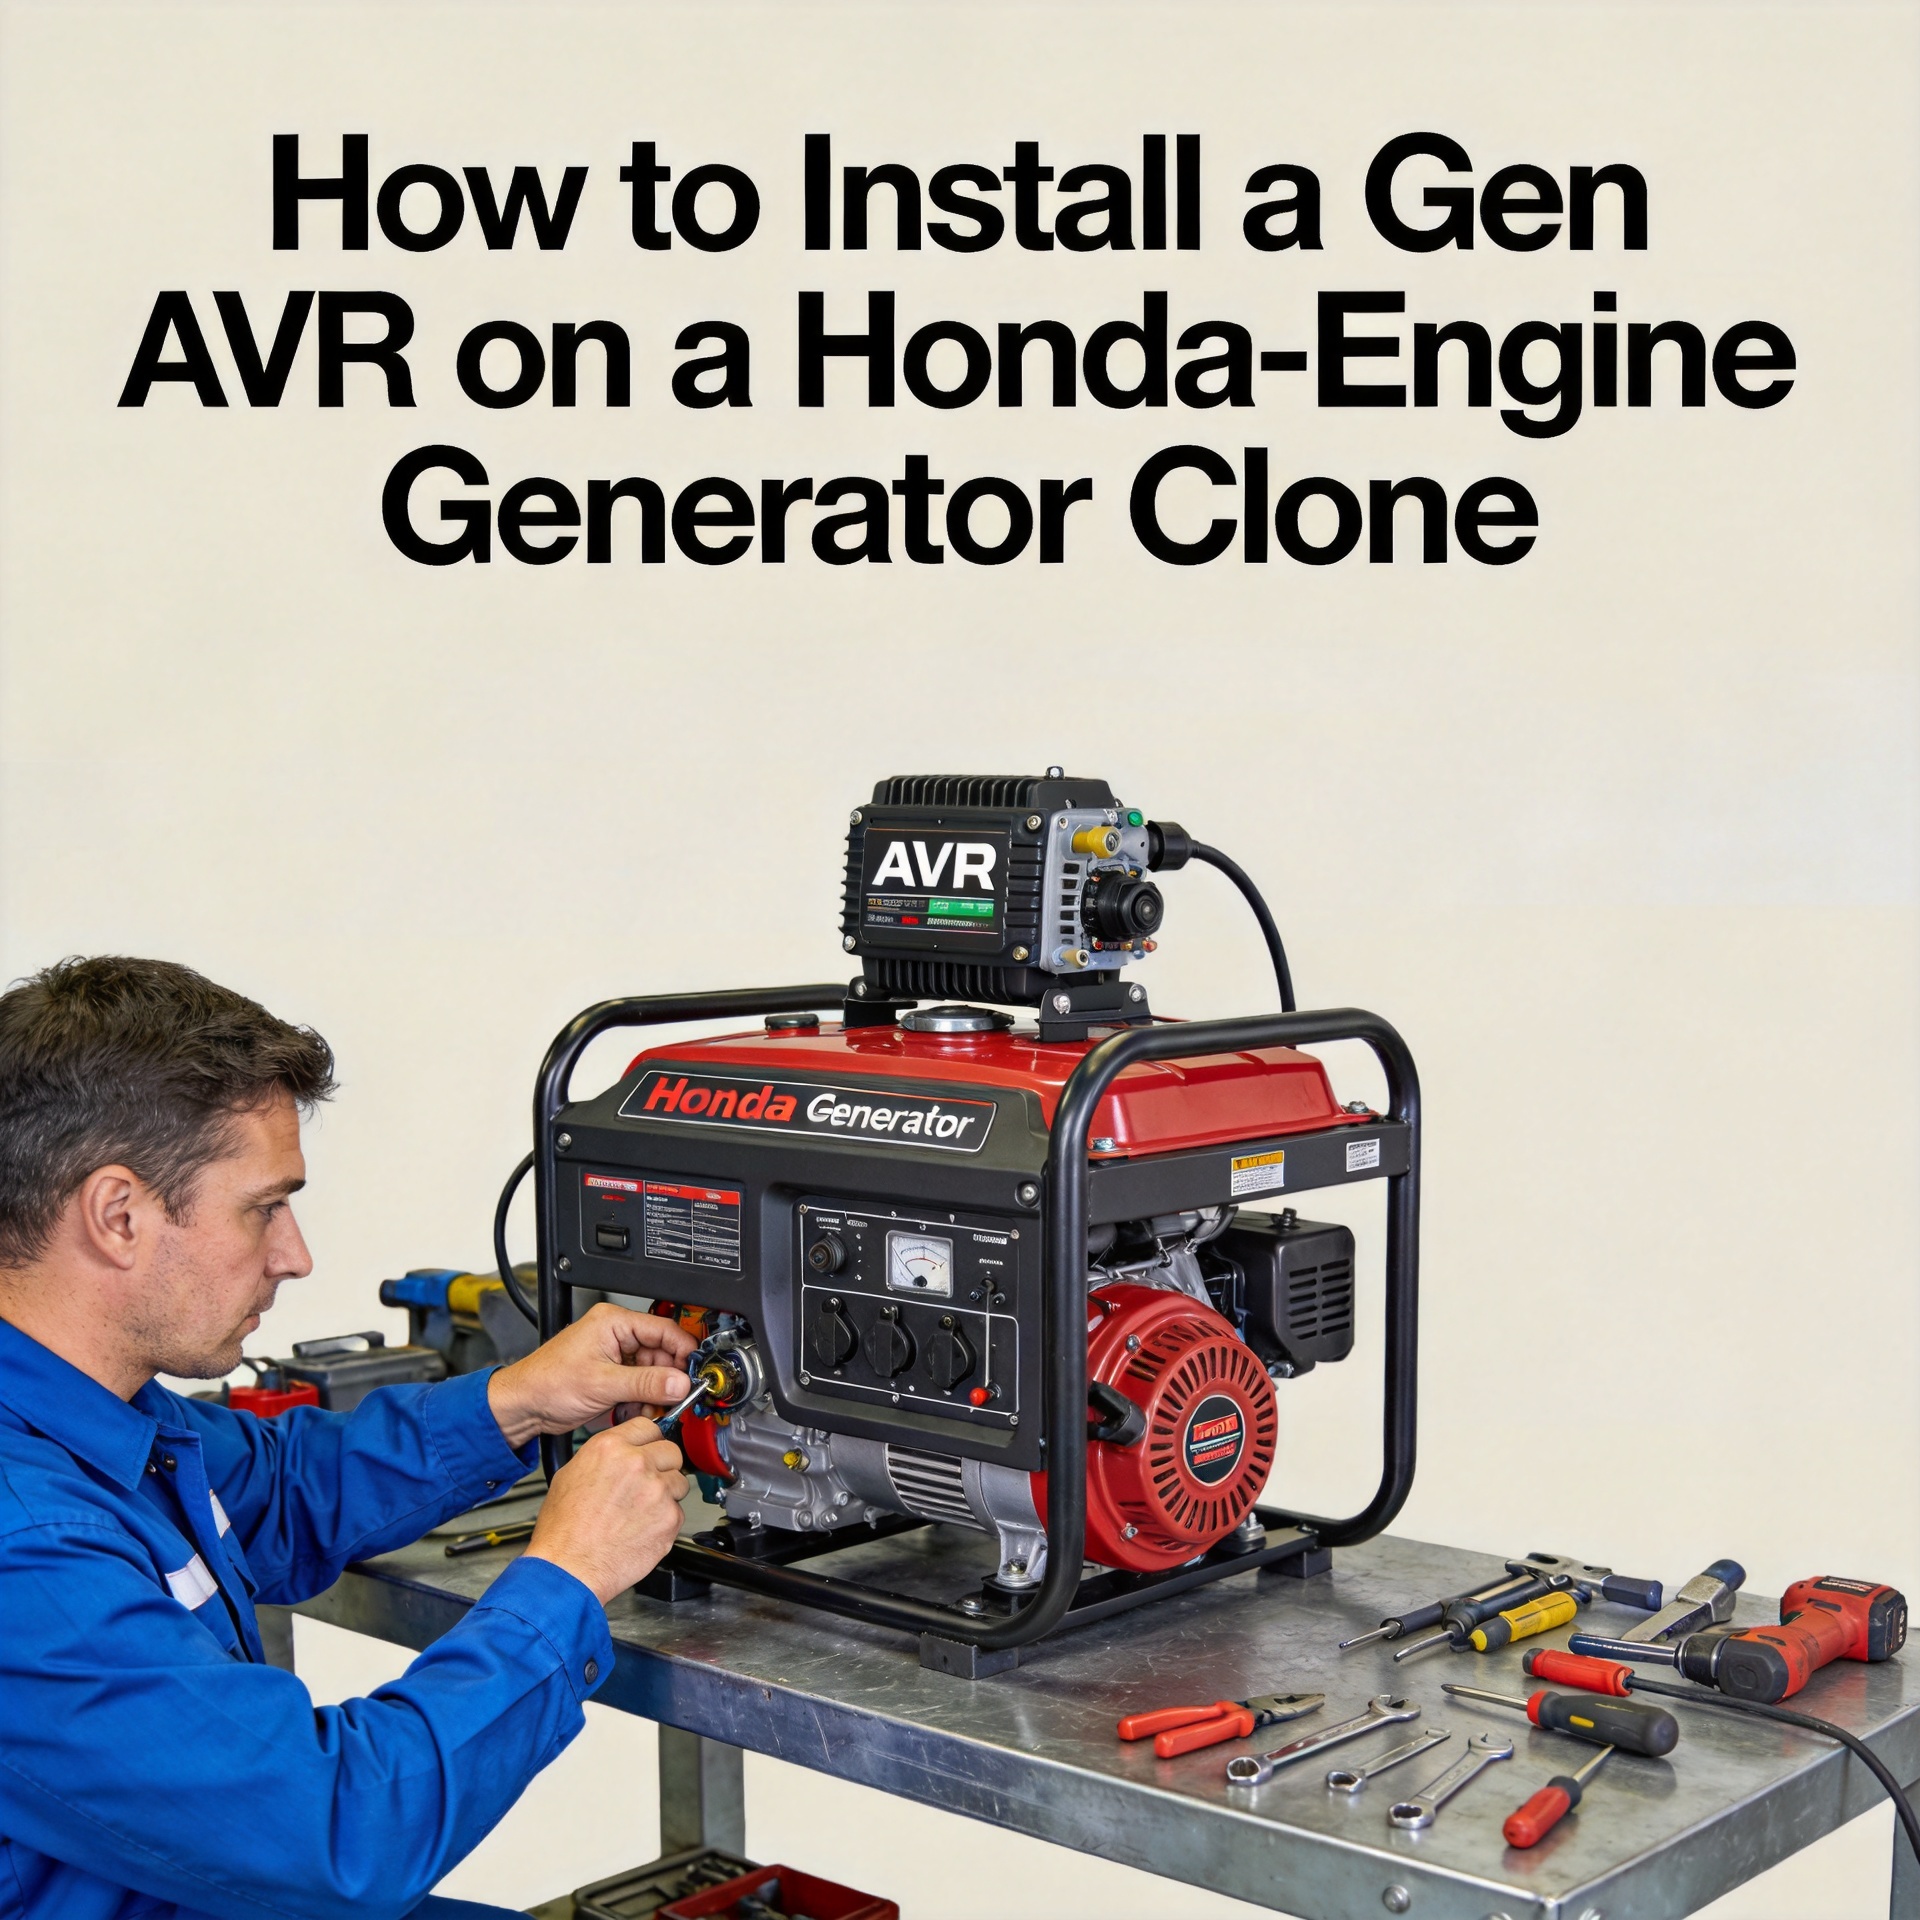
How to Install a Gen AVR on a Honda-Engine Generator Clone
If your Honda-engine generator clone is putting out erratic voltage — lights flickering, appliances shutting off, or no output at all — there is a good chance the gen AVR has failed. The generator automatic voltage regulator replacement process is less complicated than most people assume, provided you choose the right part and follow the correct wiring sequence. This guide walks through the full installation step by step.
What Is a Gen AVR and Why Does It Fail?
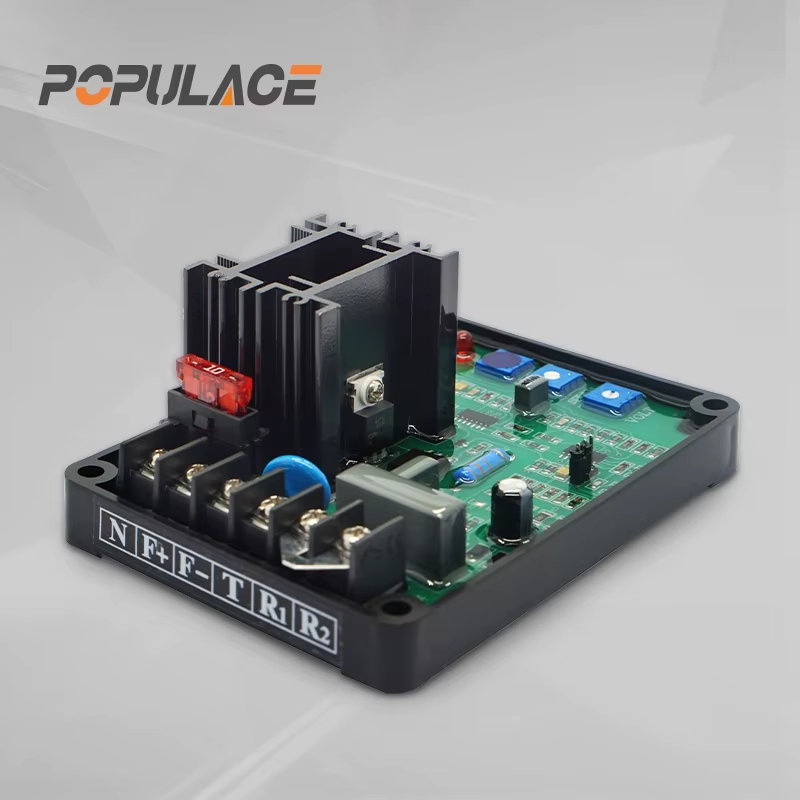
A gen AVR is a solid-state electronic module that monitors your generator's output voltage and adjusts the excitation current fed to the alternator's field winding. When voltage drifts above or below target — typically 120V or 240V depending on your market — the AVR compensates, keeping connected equipment safe.
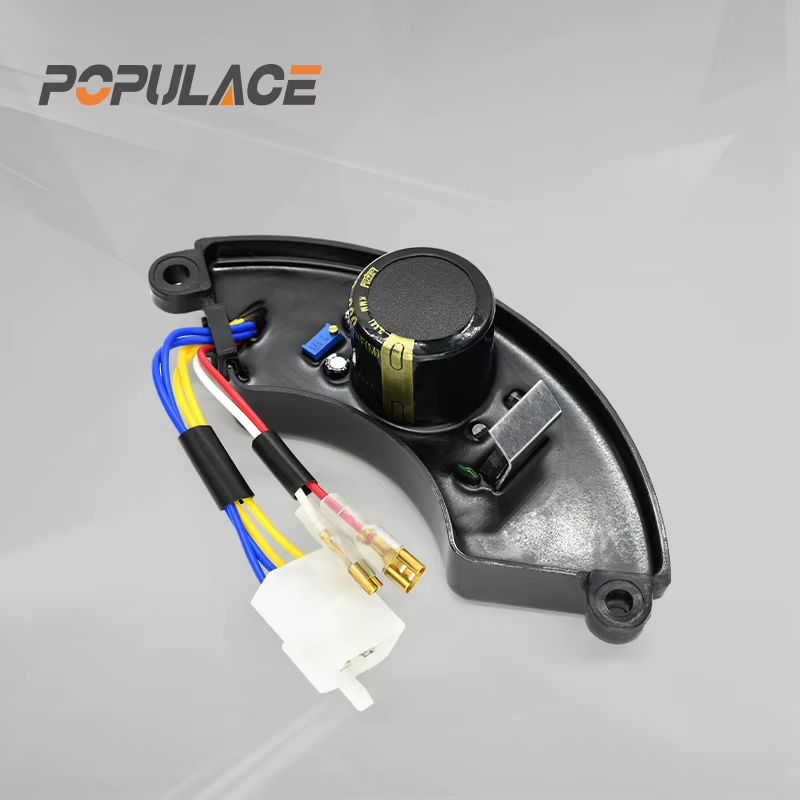
On Honda-engine generator clones, the generator AVR module is usually mounted on the control board panel near the brush assembly. These boards are compact and not expensive, but they are sensitive to heat, vibration, and voltage spikes. Extended overloading or a nearby capacitor failure can kill an otherwise working AVR board within hours. Once the board goes, the generator either produces no voltage or wildly unstable output.
Choosing the Right Generator AVR Module for Your Clone
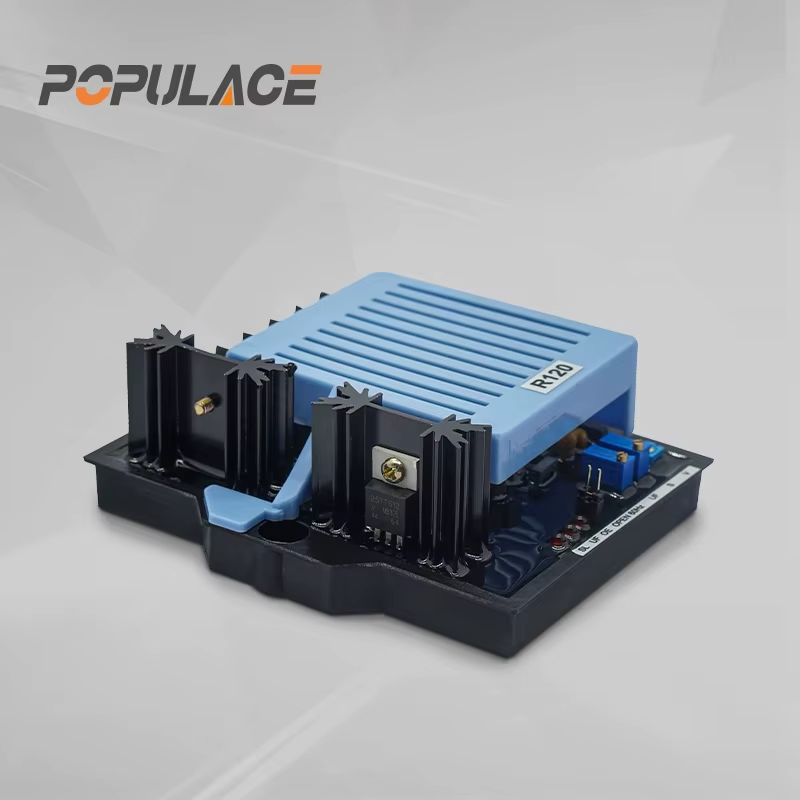
Before ordering a replacement, confirm three compatibility parameters. Getting any of these wrong is the single most common reason for a second failed installation.
- Rated output voltage and phase: Honda-engine clones typically run single-phase at 120V (North American market) or 220–240V (international). The replacement gen AVR board must match this exactly.
- Frequency: Confirm whether your generator targets 50Hz or 60Hz. Many affordable gen AVR modules support both via a jumper or selector switch — check the label before assuming.
- Power rating: A 5 kW generator requires an AVR rated for 5 kW or higher. An undersized module will overheat and fail prematurely regardless of voltage compatibility.
When sourcing a generator automatic voltage regulator replacement, generic aftermarket boards tend to work well on Honda-type clones because the alternator designs across these machines are largely standardized. The gen AVR price for a compatible single-phase module typically falls in a budget-friendly range for DIY repair; it is rarely necessary to track down an OEM-labeled unit unless you have a specific reason to.
One practical note: check the connector type and wire count on your existing AVR before ordering. Some clone manufacturers use proprietary harness connectors, while others use bare terminal leads. Most quality aftermarket suppliers can confirm compatibility if you send the existing board's label number or connector photographs.
Tools and Safety Preparation
Before opening any internal component, disconnect the generator from all loads and let the alternator come to a complete stop. Wait at least 30 seconds after shutdown to allow residual capacitor charge to dissipate. What you will need:
- A digital multimeter capable of reading AC voltage (up to 300V) and DC voltage
- Insulated screwdrivers (flathead and Phillips)
- Needle-nose pliers for spade terminal removal
- The replacement gen AVR board
- A wiring photograph of the original installation (take this before disconnecting anything)
Step-by-Step Gen AVR Installation
Step 1: Locate and Access the Gen AVR
On most Honda-clone generators, the gen AVR module is mounted inside the control panel housing or on the alternator end bracket. Remove the access cover (typically two to four screws) and photograph the existing wiring harness before disconnecting a single wire.
Step 2: Identify the Terminals
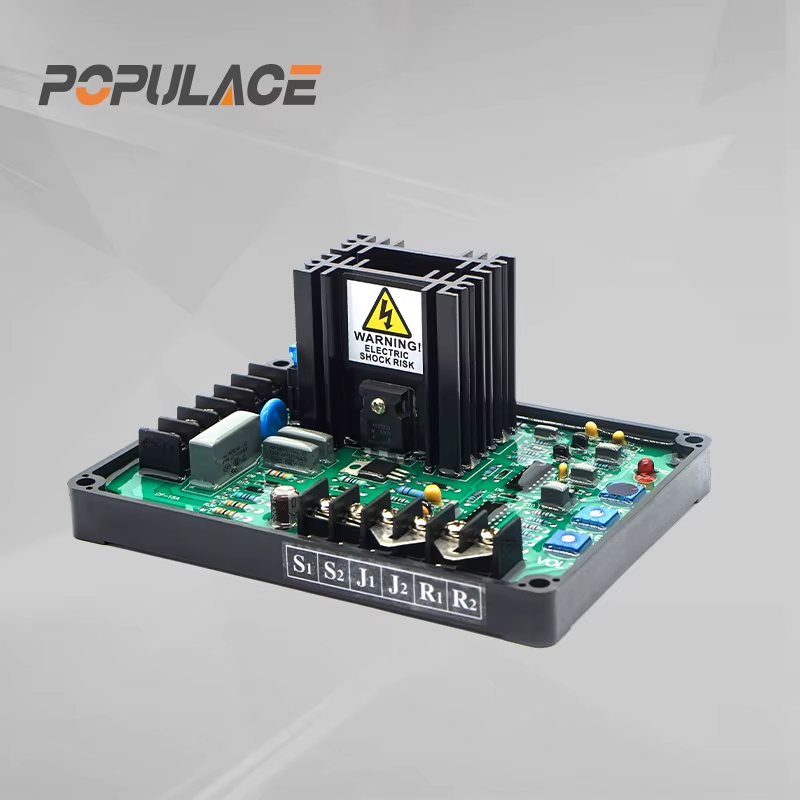
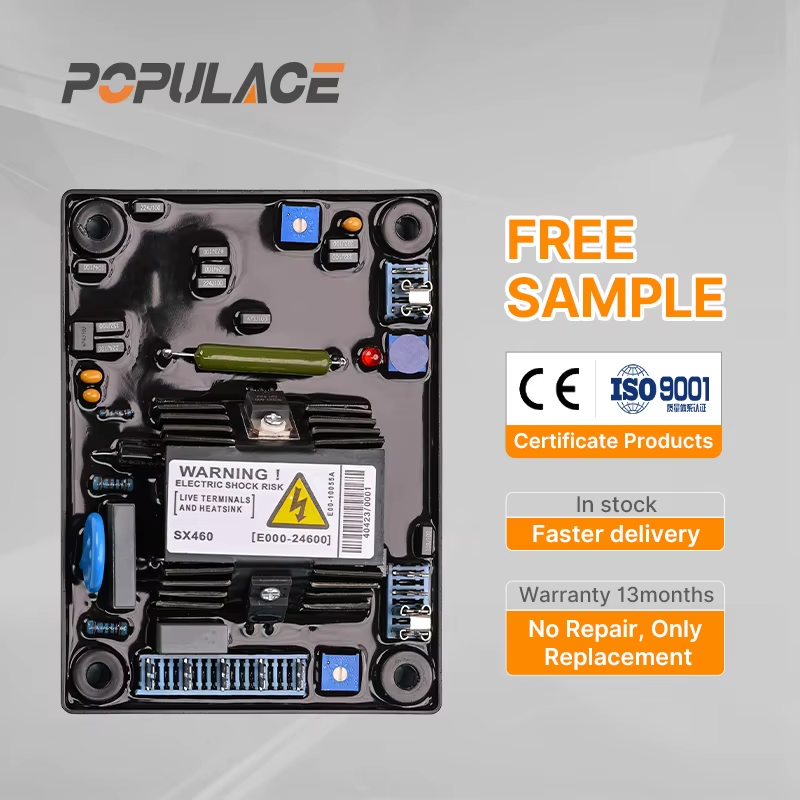
The gen AVR board has two terminal groups. The field output terminals, labeled F+ and F− (sometimes E+ and E−), connect to the brushes on the alternator. The sensing/power input terminals, labeled AC, S1/S2, or V+/V−, connect to the generator's AC output. Do not mix these groups — reversing them will damage both the AVR and potentially the alternator.
Step 3: Disconnect the Old Module
Using needle-nose pliers, remove each spade terminal or unplug the connector block. Label each wire with tape if the colors on your machine are non-standard. Unscrew or unclip the old gen AVR board from its mounting point and set it aside.
Step 4: Mount and Connect the New Gen AVR Board
Secure the replacement board to the mounting bracket. Reconnect the field terminals first (F+ and F−), then the sensing terminals. Cross-reference your photograph from Step 1. Make sure each connection is firm — a loose spade terminal is enough to cause intermittent voltage problems once the generator runs again.
If your replacement generator AVR module has a frequency selector, set it to match your system (50Hz or 60Hz) before proceeding.
Step 5: Verify Residual Magnetism
Here is something that catches people off guard during a generator automatic voltage regulator replacement: if the alternator has lost its residual magnetism — possible when the old AVR failed under load — the generator will run but produce no voltage. That is not a defective replacement board; it is a field flashing problem.
To check, set your multimeter to AC voltage and probe the generator output terminals with the engine running. You should see at least a few volts of residual output (above 3VAC is the threshold for the AVR to self-excite). If you see 0V, briefly apply a 12V DC source through a current-limiting resistor to the F+ terminal to re-magnetize the rotor core.
Step 6: Start and Test
With the access cover open and no load connected, start the generator. Measure AC output voltage at the panel socket with your multimeter. Within seconds of startup, voltage should stabilize at your target value (120V or 240V, ±5%). Run the engine for two minutes, then connect a light load — a work lamp works well — and confirm voltage holds steady.
If voltage is stable but off-target, most gen AVR boards have a small trimmer potentiometer for fine voltage adjustment. Rotate it in small increments and measure after each turn.
When to Think About Upgrading Your Gen AVR Board
A straightforward generator automatic voltage regulator replacement restores original performance. If the clone generator has been running poorly for some time — unstable idle, voltage hunting, or repeated AVR failures — it is worth checking broader alternator health before investing in a higher-specification gen AVR module. Worn brushes, a failing capacitor, or a damaged stator winding can produce identical symptoms to AVR failure and will defeat any replacement board regardless of its quality.
For workshops or wholesale buyers sourcing gen AVR modules in volume, working directly with a specialized generator parts manufacturer gives you consistent specifications, pre-shipment testing, and OEM-compatible aftermarket options — without the added cost of distributor layers.
Summary
Installing a gen AVR on a Honda-engine generator clone is a manageable repair once you have the right part and a clear picture of the terminal layout. Match your replacement to the generator's voltage, frequency, and power rating; photograph the original wiring before touching anything; and be ready for the field flashing step if the alternator has lost residual magnetism. A correctly installed generator AVR module will restore stable, reliable output and extend the working life of the generator.