 EN
How to Identify a Voltage Regulator for Generator Failure and Replace It.
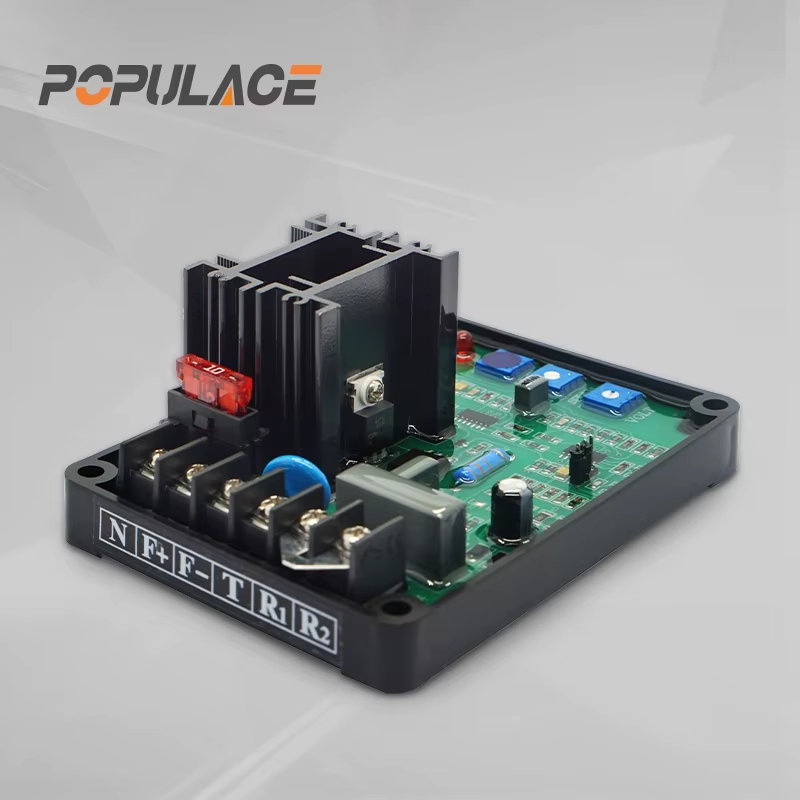
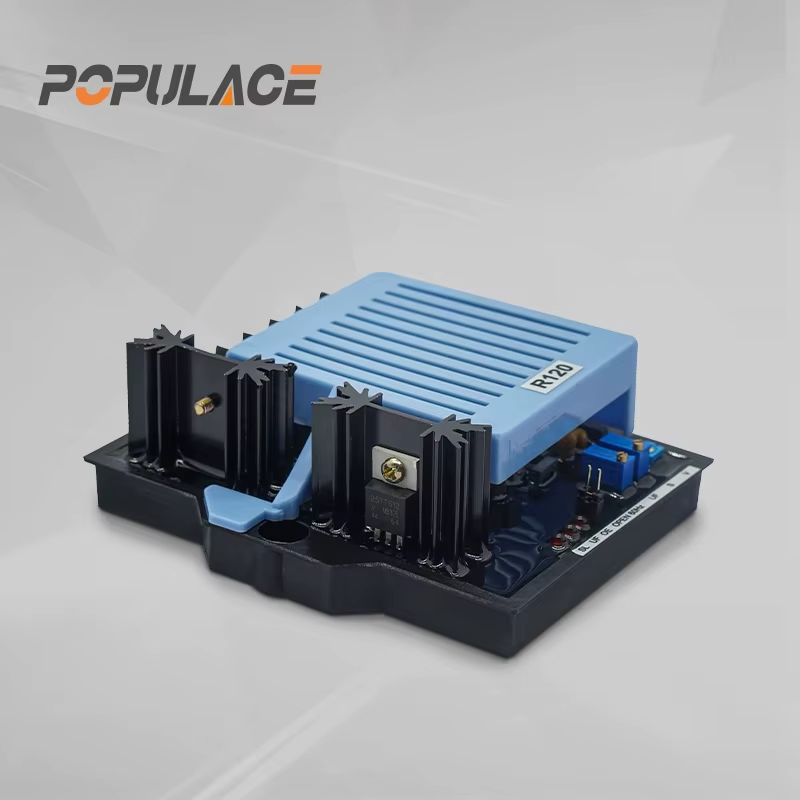
When a generator starts producing irregular output — flickering lights under load, tripped equipment, or a voltmeter that refuses to hold steady — the engine tends to get blamed first. But before pulling apart the engine or rewinding the alternator, check the voltage regulator for generator systems first. This small module, also called the AVR (Automatic Voltage Regulator), is behind most voltage instability problems. A correct generator voltage regulator replacement typically restores performance without the cost of a full alternator overhaul.
What the Generator AVR Actually Does
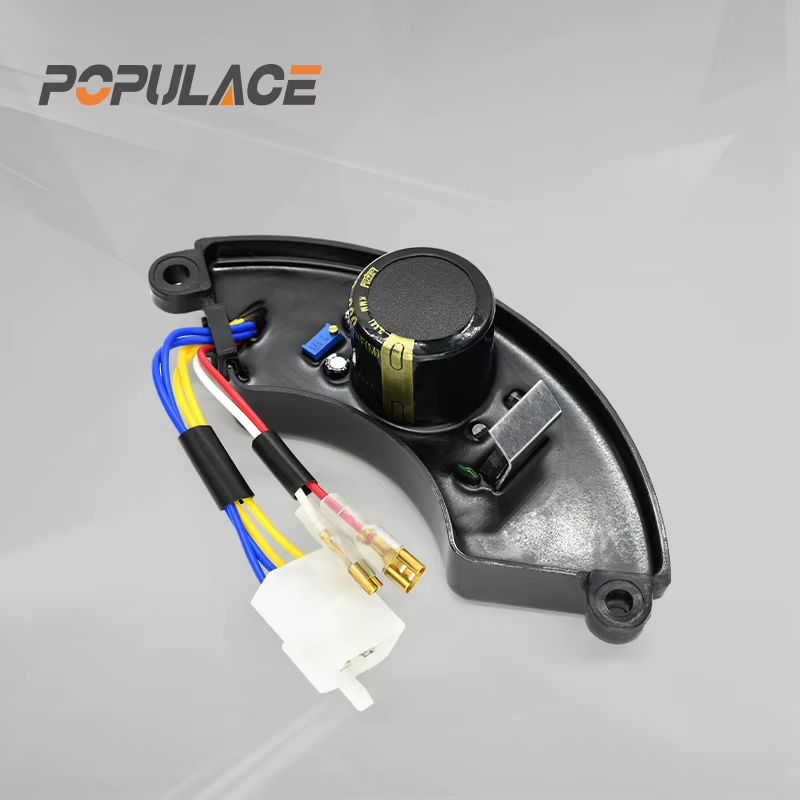
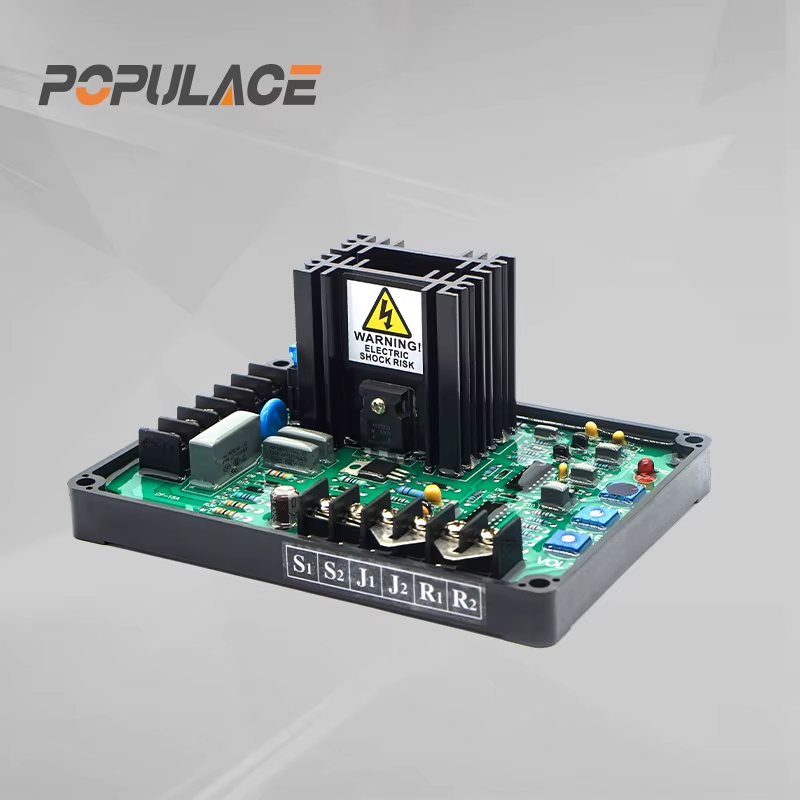
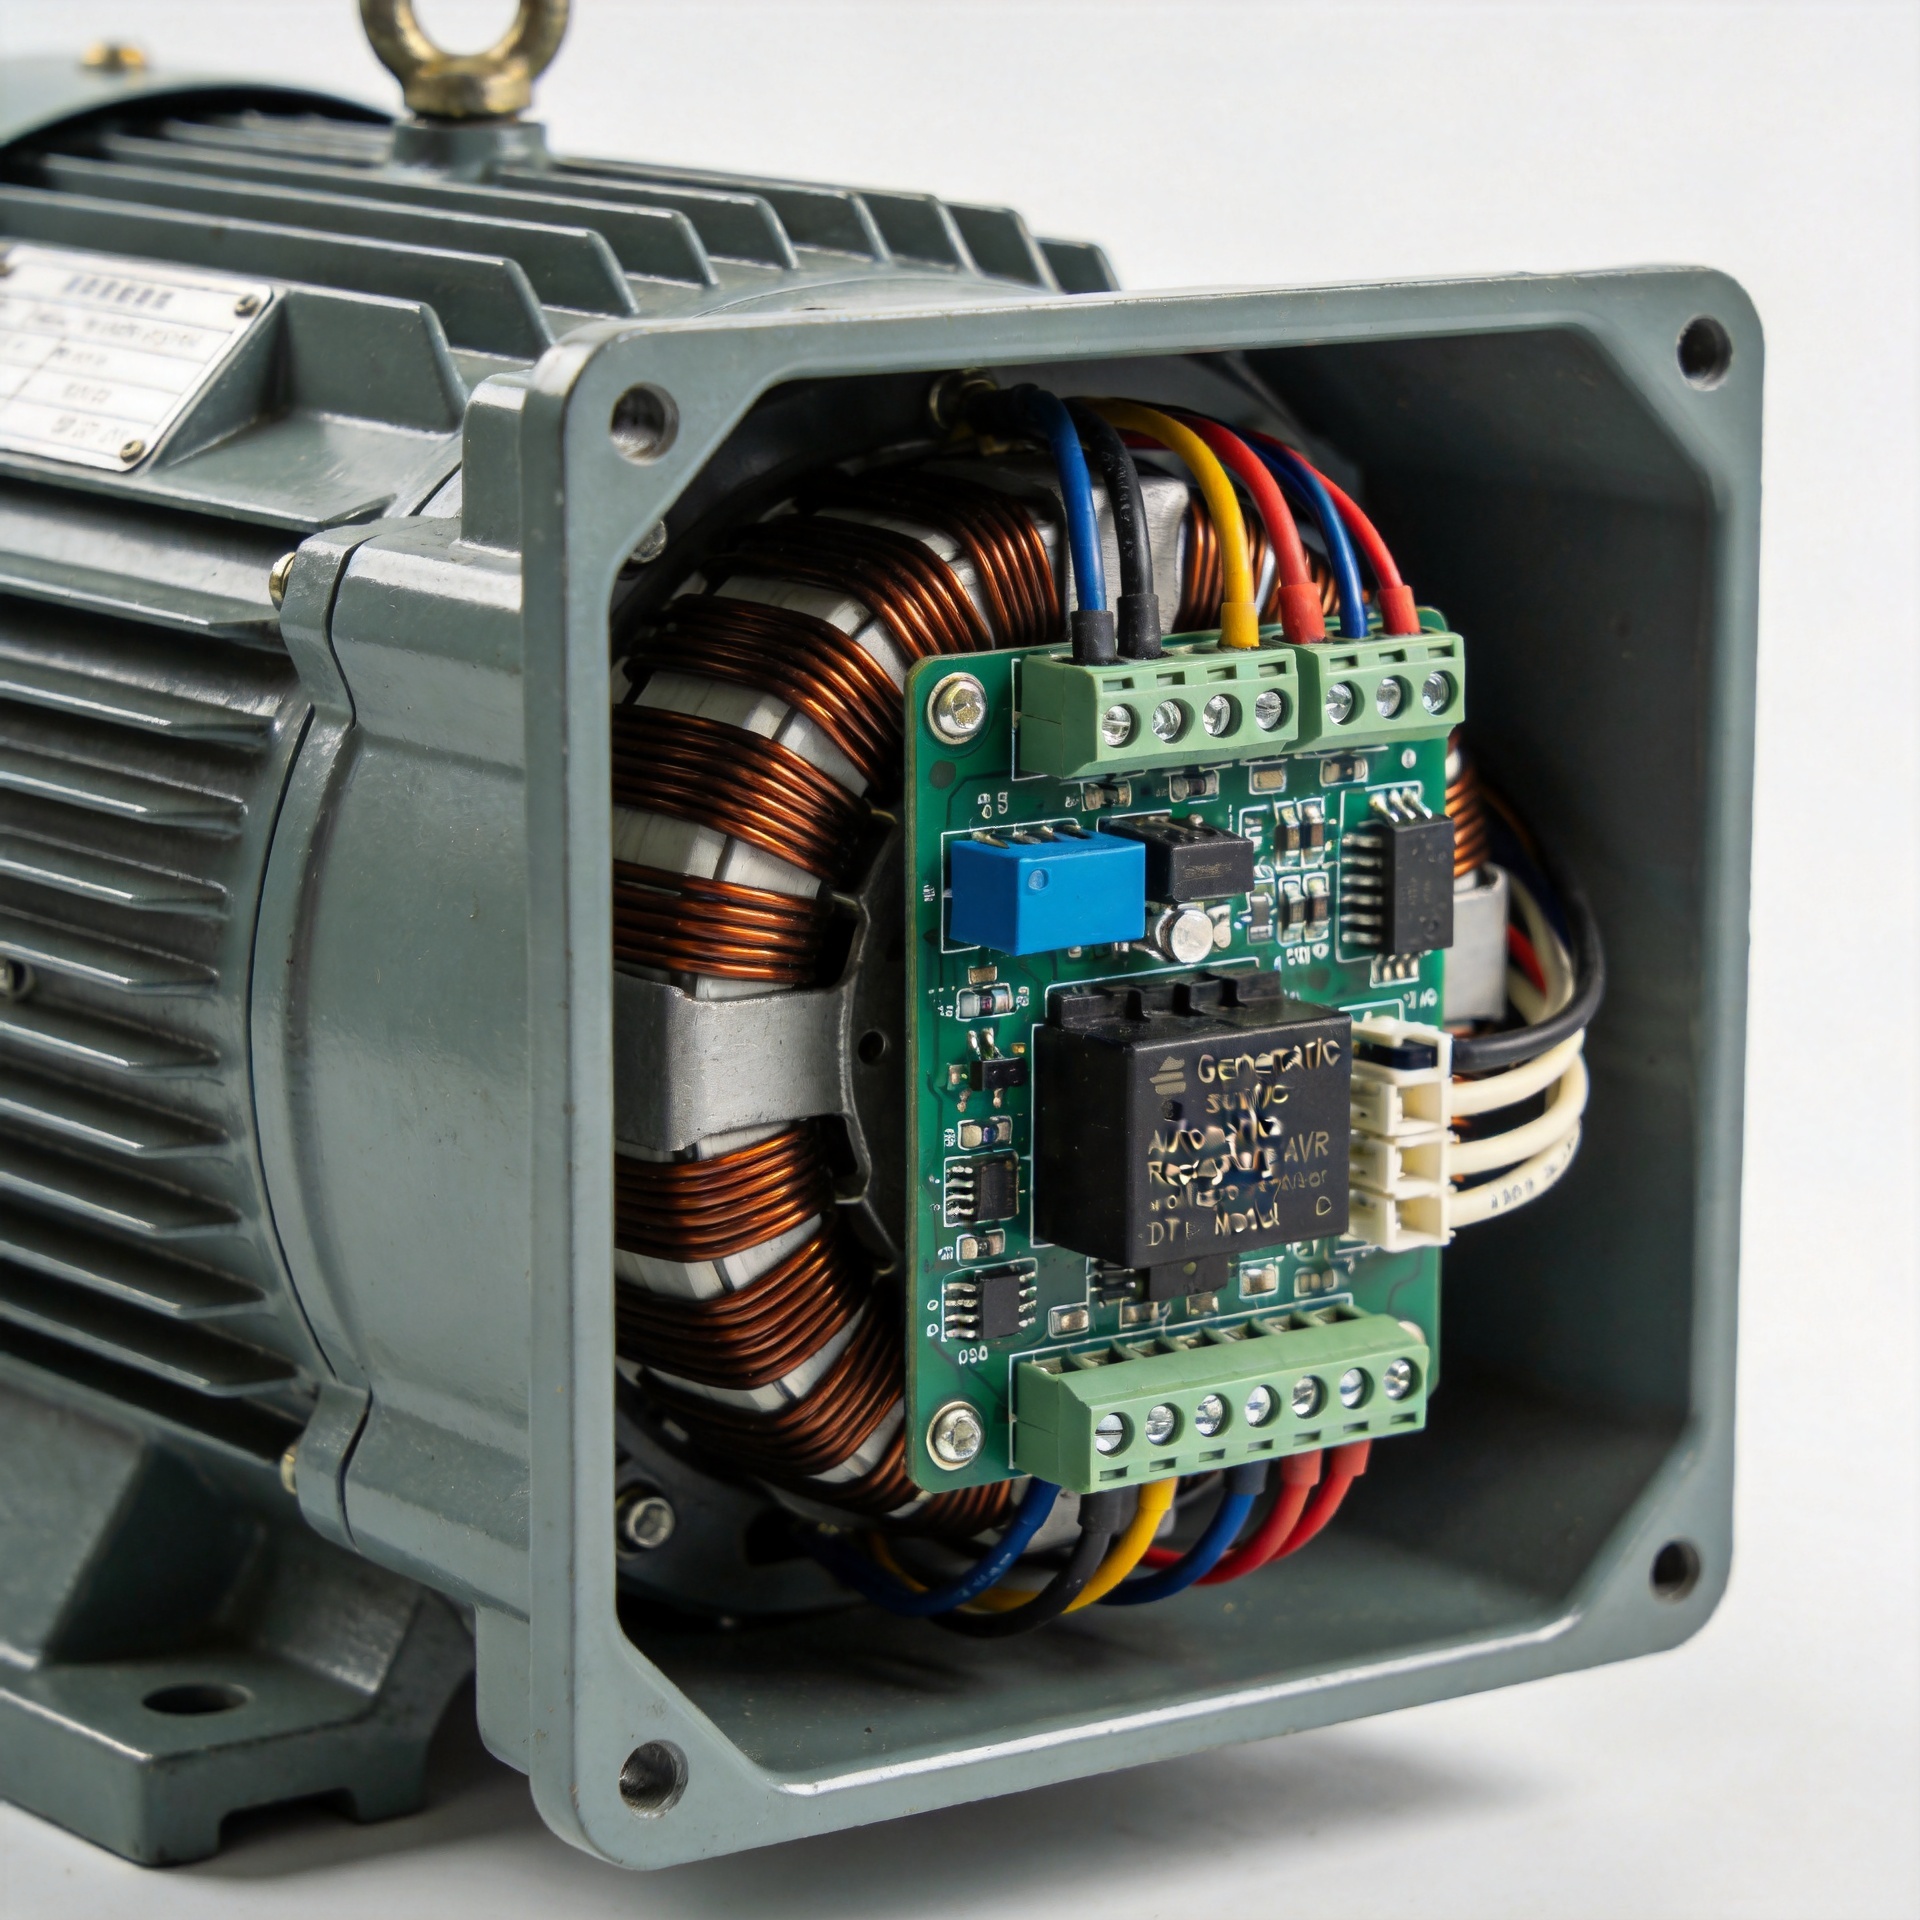
The generator automatic voltage regulator is an electronic control module mounted on or near the alternator. It samples the AC output voltage continuously and adjusts the excitation current fed to the field windings in response. Under load, output tends to drop; the AVR compensates by increasing excitation. When load is removed and output climbs, the AVR backs off excitation to hold the set point. This feedback loop runs the entire time the generator is operating.
On most gensets — from 5 kW portable units to commercial voltage regulator for 10kw generator configurations — the AVR connects via a sensing circuit to the output terminals and a DC excitation circuit to the brushes or brushless exciter. When the feedback loop breaks down, the result is usually voltage drift or instability, not a hard shutdown, which is why AVR failure is so easy to misdiagnose.
Common Symptoms of AVR Failure
A generator that runs normally but produces bad output is a classic sign of generator automatic voltage regulator failure. The most common patterns:
- Voltage too low: Output sits well below the rated value (e.g., 180–190V on a 230V unit) even at no load. Typically means the AVR is underexciting the field.
- Voltage too high: Output consistently exceeds the rated band. The AVR has lost regulation control and is over-exciting the field, putting connected equipment at risk.
- Hunting or oscillating voltage: Continuous oscillation unrelated to load changes. AVR voltage drift — where the internal sensing reference shifts with component aging — produces exactly this. More common on units with heavy operating hours.
- Zero output with engine running: The AVR has stopped exciting the field. Loss of residual magnetism can cause the same symptom, but AVR failure is statistically more common.
- Burning smell or heat-damaged board: Overloads and electrical surges damage the AVR thermally. Discolored components or a faint burn smell near the control board are hard evidence.
One exception worth knowing: if voltage only collapses under load but recovers cleanly at no load, the brushes or exciter winding are the more likely cause. Check no-load stability first before ordering a generator voltage regulator replacement.
How to Confirm AVR Failure Before Ordering
A field test before ordering saves the cost of an unnecessary swap. Run the generator at no load with a calibrated multimeter across the output terminals:
- Confirm output is stable within the rated band (typically ±5% of nominal).
- If stable at no load but unstable under load, apply roughly 50% rated capacity and watch for droop or oscillation.
- If consistently outside the rated band at no load, the voltage regulator for generator is the primary suspect.
- Check DC excitation voltage at the AVR brush terminals while running. A reading well below the service manual spec confirms AVR internal failure.
Resist the assumption that generators with similar output ratings share interchangeable AVR modules. A routine sourcing error is ordering a replacement from the generator brand name alone, then receiving a unit with an incompatible sensing range. The model number on the existing AVR is the only reliable starting point for matching.
Identifying the Correct Replacement AVR Model
Read the label on the existing AVR. Most units list a model number, rated power (VA or kW), voltage sensing range, and phase type. On older units where the label has worn off, cross-referencing the generator's serial number against the manufacturer's parts diagram works reliably.
Before placing a generator voltage regulator replacement order, verify:
- Rated generator output (kW/kVA): An AVR rated for 5 kW may not sustain the excitation demands of a 10 kW alternator at full load, even if the connector physically fits.
- Phase configuration: Single-phase and three-phase AVRs are not interchangeable. Running a single-phase module on three-phase output causes incorrect phase balancing and potential equipment damage.
- Voltage sensing range: AVRs are calibrated for specific nominal voltages (e.g., 120V/240V, 220V/380V). A sensing range mismatch puts the AVR outside its calibration window from the start.
- Excitation output capacity: The AVR must deliver enough DC excitation current for the alternator's field winding — typically noted in amperes or VA on the AVR label.
- Connector form factor: Some aftermarket AVR options offer better durability at a competitive generator avr price versus OEM units. That only holds when electrical specifications and pinout are confirmed compatible — a matching physical size does not guarantee functional compatibility.
For wholesale buyers managing replacement parts programs across multiple generator brands, a supplier with pre-sales specification verification and part number cross-referencing cuts incompatible returns significantly.
Step-by-Step AVR Replacement Procedure
After confirming the correct generator automatic voltage regulator, the physical replacement is a straightforward job for anyone with basic electrical safety knowledge. These steps apply to standard brushed AVR configurations.
- Shutdown and isolation: Stop the generator fully. Disconnect the battery ground terminal if electric start is fitted. Let the unit cool for at least 10 minutes before opening the alternator compartment.
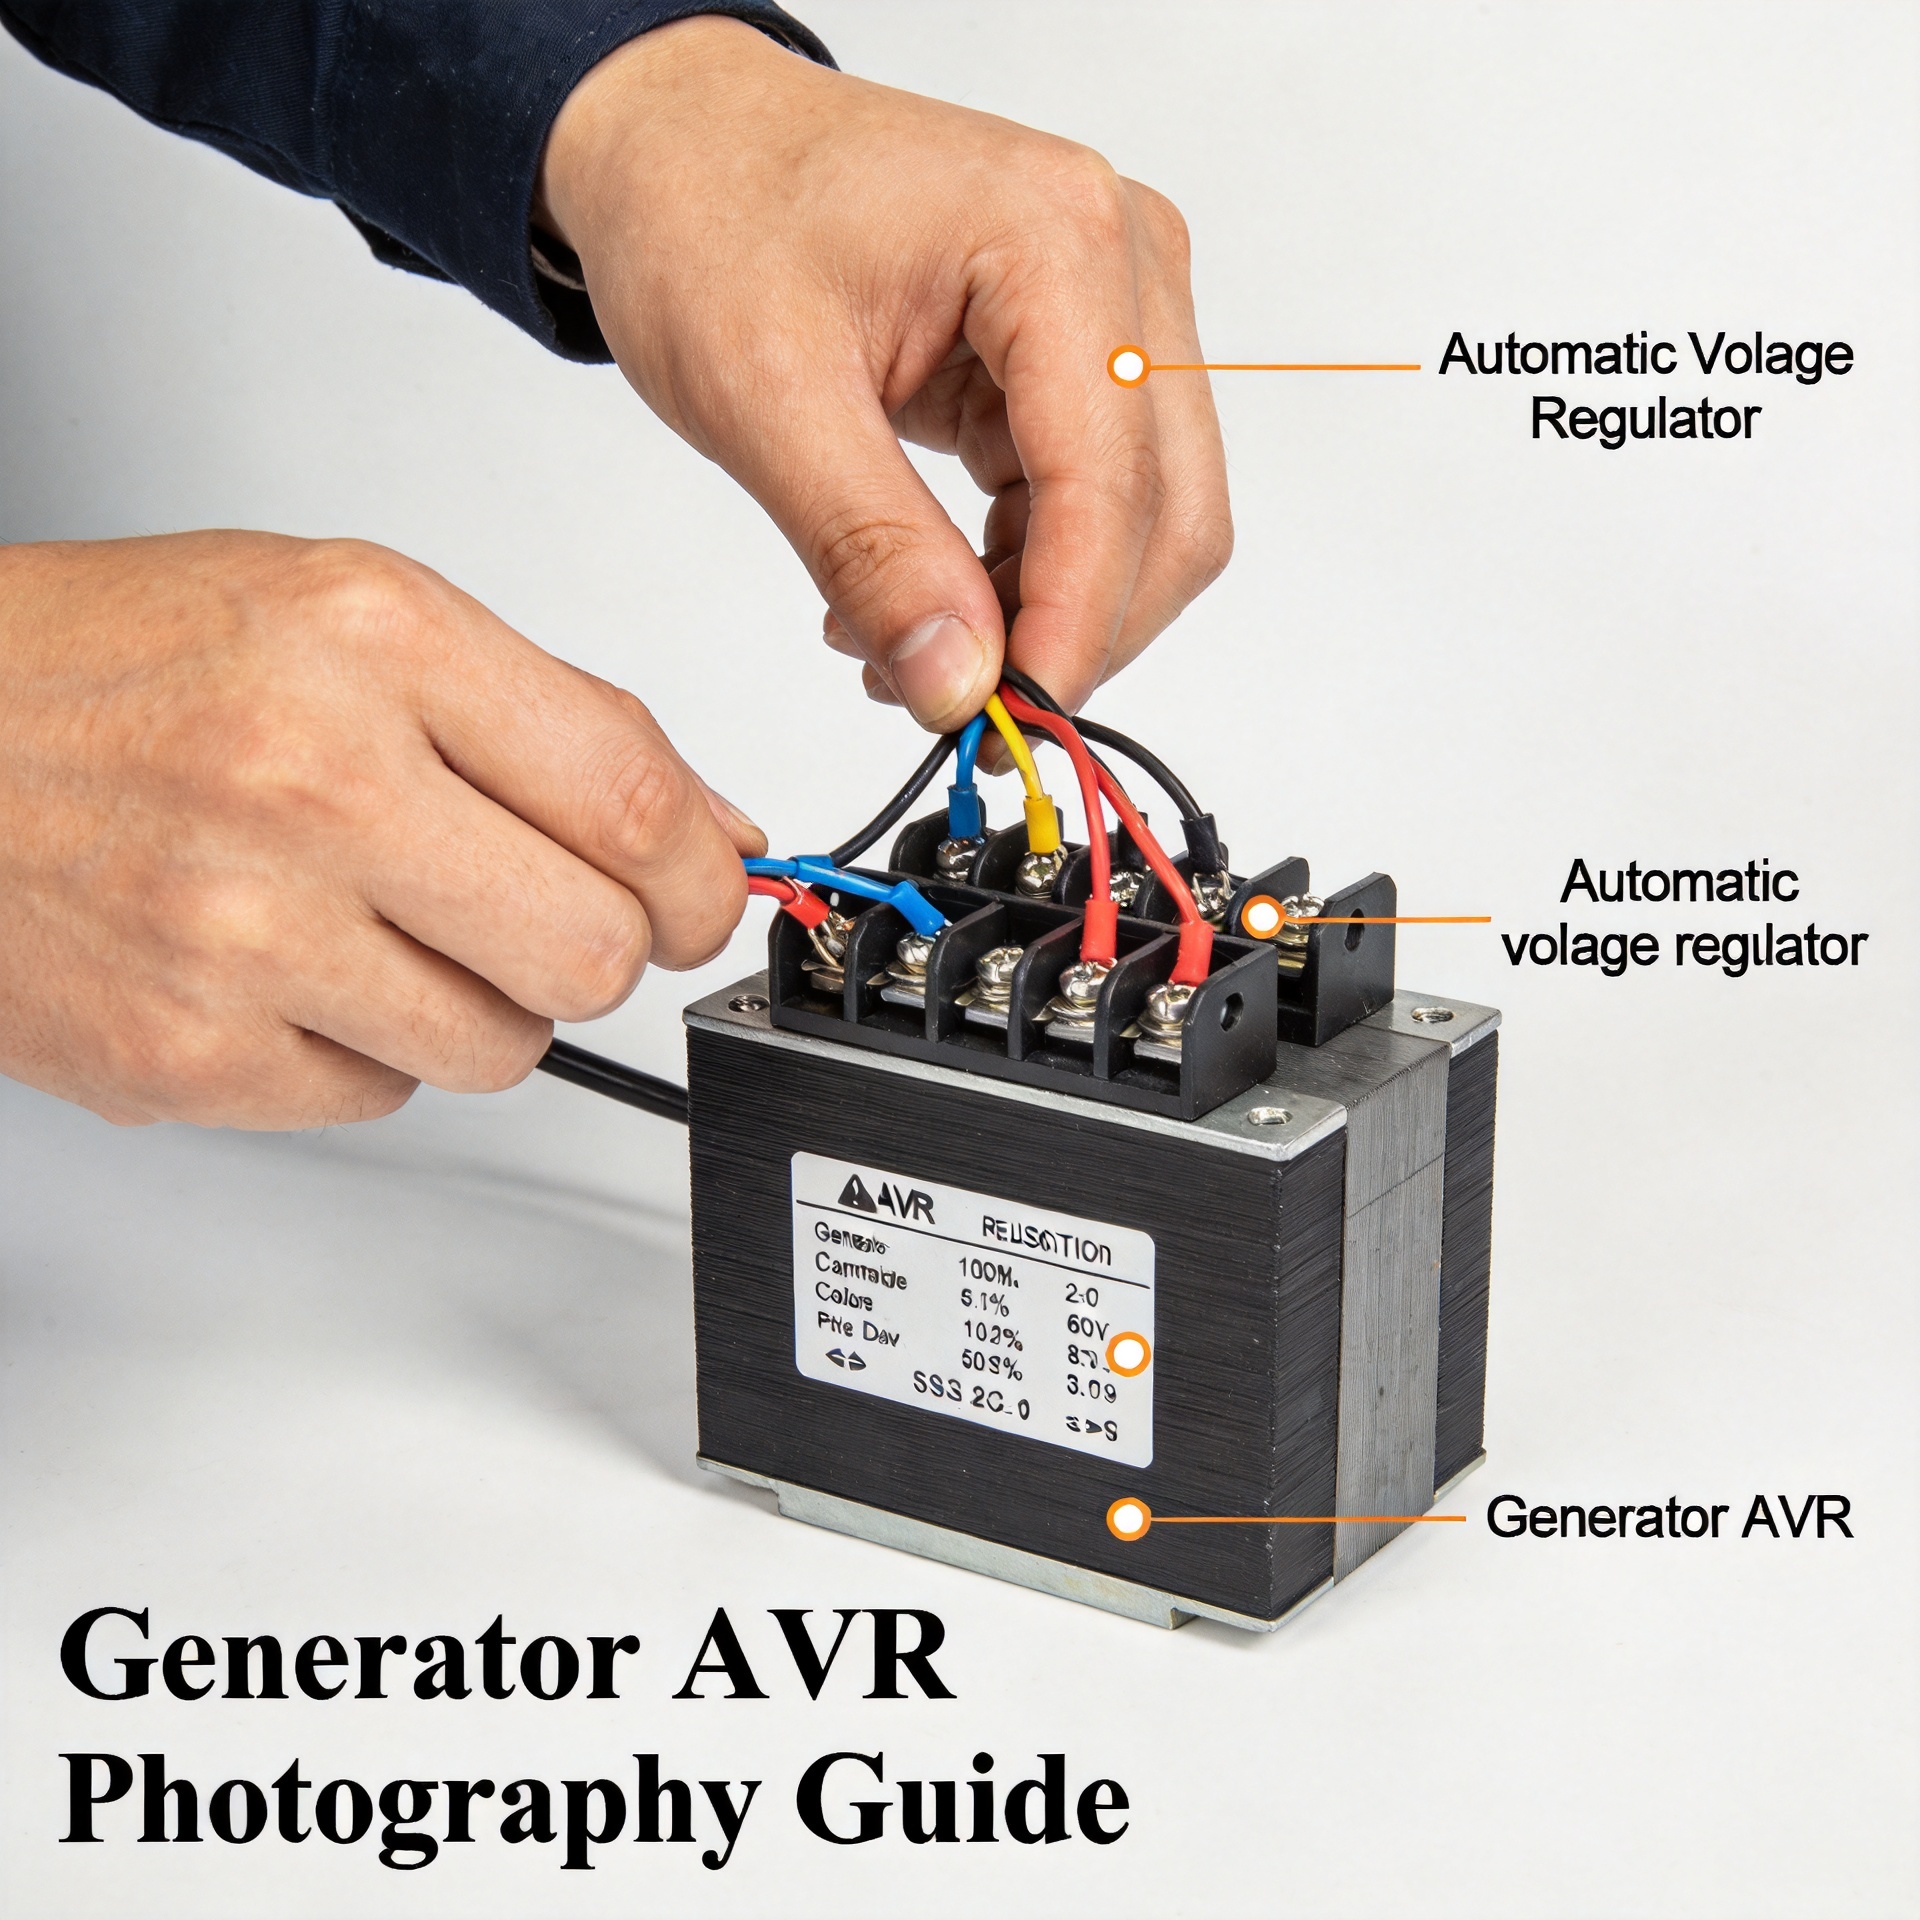
- Document the wiring: Photograph or sketch every connection before touching a wire. Key connections: DC output wires to the brushes (red = positive on most units), sensing input wires at the output terminals, and the trim potentiometer if one is present.
- Remove the failed AVR: Disconnect wires in the documented order. Remove mounting screws and lift the AVR clear. Check the surrounding area for heat damage or moisture before fitting the replacement.
- Fit the new AVR: Mount it in the same position and reconnect wires per the documentation. On the DC side, get the polarity right — reversed excitation polarity prevents voltage buildup and can immediately destroy the new unit.
- Check connections: All terminals firm, no insulation near hot surfaces or moving parts.
- No-load startup test: Start the generator with no load. After 60 seconds, read output voltage. Adjust the trim potentiometer to bring it into the rated range.
- Load validation: Step up resistive load — 25%, then 50%, then 75% of rated capacity. A functioning voltage regulator for generator holds output within ±2–3% of the set point through the range.
Output Still Unstable After Replacement?
If instability continues after a confirmed-compatible voltage regulator for generator is installed, the fault is elsewhere. Worn brushes with high contact resistance, a partially shorted exciter winding, and capacitor degradation in the sensing circuit are the next candidates. For wholesale buyers handling returned units, this sequence — AVR, then brushes, then exciter winding — is the standard triage path that keeps full-unit returns to a minimum.
Populace Electronic Co., Ltd. supplies AVRs and generator control components with pre-sales compatibility support, helping distributors and brand-label buyers match the correct generator automatic voltage regulator by alternator model, output rating, and phase configuration before the order ships.